Description
Custom Vinyl Stickers
Create your own custom vinyl stickers on our top-selling sticker material.
Free shipping from Canada
We offer free shipping anywhere in Canada
Fast turnaround
We typically process and ship orders within 3 Business days.
Cheap stickers
Great value and durability.
Vinyl stickers are a winner in the sticker category!
They’re the ultimate MVP of stickers. Here’s why:
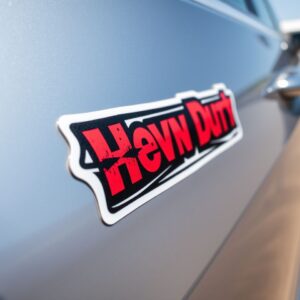
- You can stick them on practically anything – water bottles, hockey pucks, camping gear, smartphones, hard hats, laptops – to make a powerful brand statement or showcase your logo.
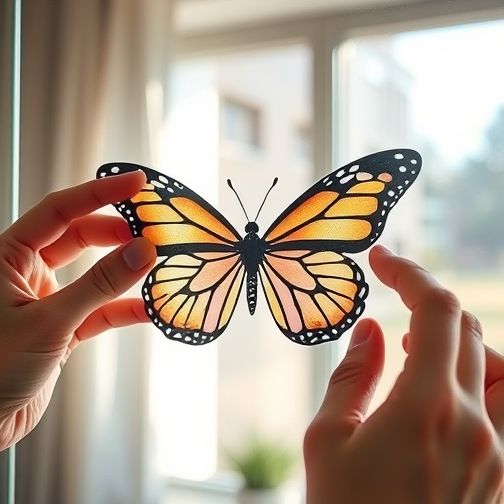
- They work wonders on glass and acrylic surfaces, making them a great option for windows.
- Unlike cheap paper stickers, they won’t break, fade, or disintegrate when exposed to the elements.
- Their strong adhesive allows for repositioning, so you can get that perfect placement every time.
- Made with high-quality vinyl, they boast vibrant and vivid colors that catch the eye.
- And with tuff overlaminate protection, they’re resistant to scratches and tough enough to handle whatever you throw their way.
Slap your vinyl stickers with confidence! they are great for almost any application!
Glossy or matte finish? That is the question…
Glossy laminate
Sticker Beaver’s glossy laminate is a special finish that we apply to our stickers to give them a shiny and smooth texture, like a glossy waxed paint. We do this by adding a clear, glossy layer of laminate material to the surface of the sticker. This finish not only makes the stickers look cool, but it also adds extra protection and durability.
Matte laminate
Sticker Beaver’s matte laminate is another special finish that we apply to our stickers. Unlike our glossy laminate, this finish gives the stickers a flat, non-reflective surface, like a matte paint. This is achieved by adding a clear, matte layer of laminate material to the surface of the sticker. While the finish may not be as shiny, it adds a unique and professional look to the stickers. The matte laminate finish also provides extra protection and durability to the stickers, ensuring they last longer.
Die cut or kiss cut?
What’s the Difference Between Die Cut and Kiss Cut for Stickers?
Die cutting and kiss cutting are two methods used to cut stickers. Die cutting involves using a machine to cut out a specific shape from the sticker material. This allows for almost any shape to be cut. On the other hand, kiss cutting only partially cuts through the sticker material, leaving it attached to the backing sheet. This makes it easier to peel off the sticker from the backing paper and enables more complex shapes to be cut than with die cut. Kiss cut is a great addition to die cut, giving you more options for creating custom stickers, either single or multiple per sheet, with easy peeling.
It’s essential to note that a kiss cut is always within a die cut, meaning that multiple, custom-shaped stickers can be on one sheet with easy peeling. Die cut is ideal for creating specific shapes, while kiss cut is great for creating unique, custom-shaped stickers that stand out.
Commonly used shapes like circles, squares, rectangles, triangles, and ovals, are super popular, These shapes are great for simple designs or logos that require a specific shape.
Vinyl stickers, a great durable option!
If you opt for vinyl, your design will be printed on a white, premium adhesive vinyl and then coated with a glossy, weather-resistant laminate. This layer will help your custom vinyl stickers last around three to four years outdoors and longer in interiors.
Made in Canada!
Strong adhesive 100% exterior grade custom stickers, UV and Scratch resistant protection!
How to Prepare Your Artwork for Printing
- Choose a file format. We recommend saving your artwork as a PDF.
- Add a bleed area. This is only required if you want your artwork to go right to the edge of the vinyl. We suggest a 1/8″ (.125″) bleed area.
- Embed all fonts or convert to vector paths.
- Save your artwork as a single-layered image using the CMYK colour model.
- Make sure the image resolution is at least 300 DPI for best results.
- Ensure your dimensions are at least twice the desired print size.
- Always use the CMYK colour model for printing.
- If you follow these simple steps, your artwork will be ready for printing your amazing stickers!
Reviews
There are no reviews yet.